I thank Daniele F. for donating this terminal. He contacted me from the donation page at the end of May but I couldn’t retrieve it until the beginning of October, when I passed through Verona while I was going to Brusaporto (a few kilometres from Bergamo) where I attended an annual retrocomputing meeting.
The terminal, after a thorough cleaning and an accurate inspection, turned on without any problems. It was just dusty and dirty.
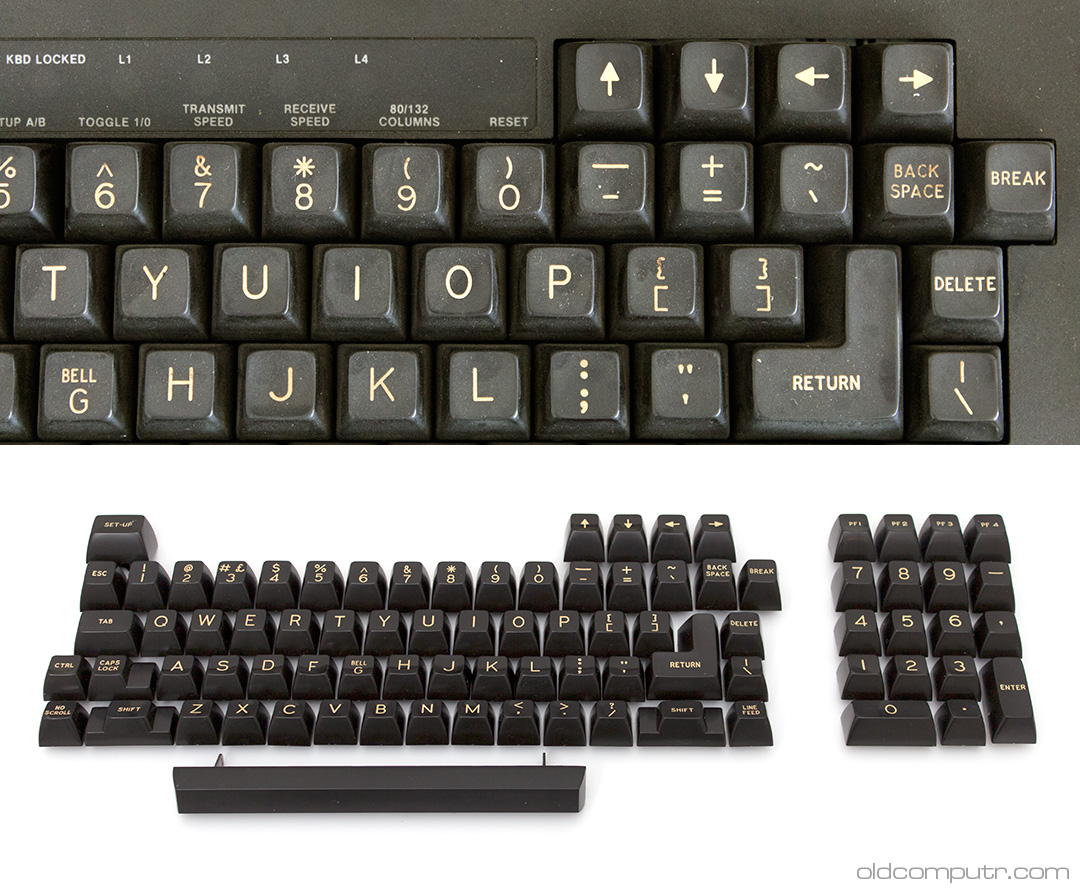
The first item I started to clean was the keyboard. The next picture shows it before and after the cleaning process.
I know that I’ve said it before… detaching and cleaning every single key is boring. But it is a manual and repetitive task that frees my mind, I find it quite relaxing, and the final result is always worth the time spent. Look at the next photo: beautiful, clean, shiny keys, with that mechanical feeling I sometimes miss on modern keyboards.
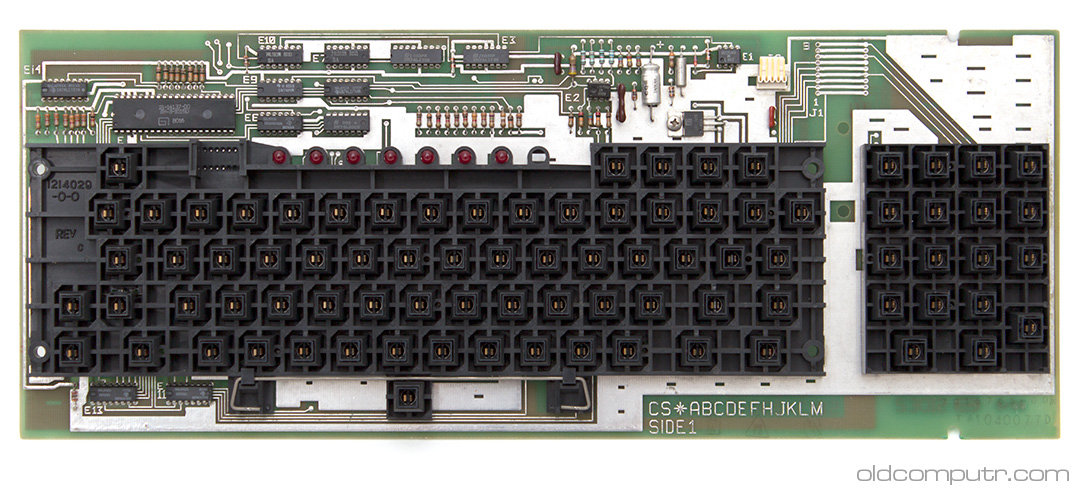
Here’s the keyboard board without the keys, after being cleaned:
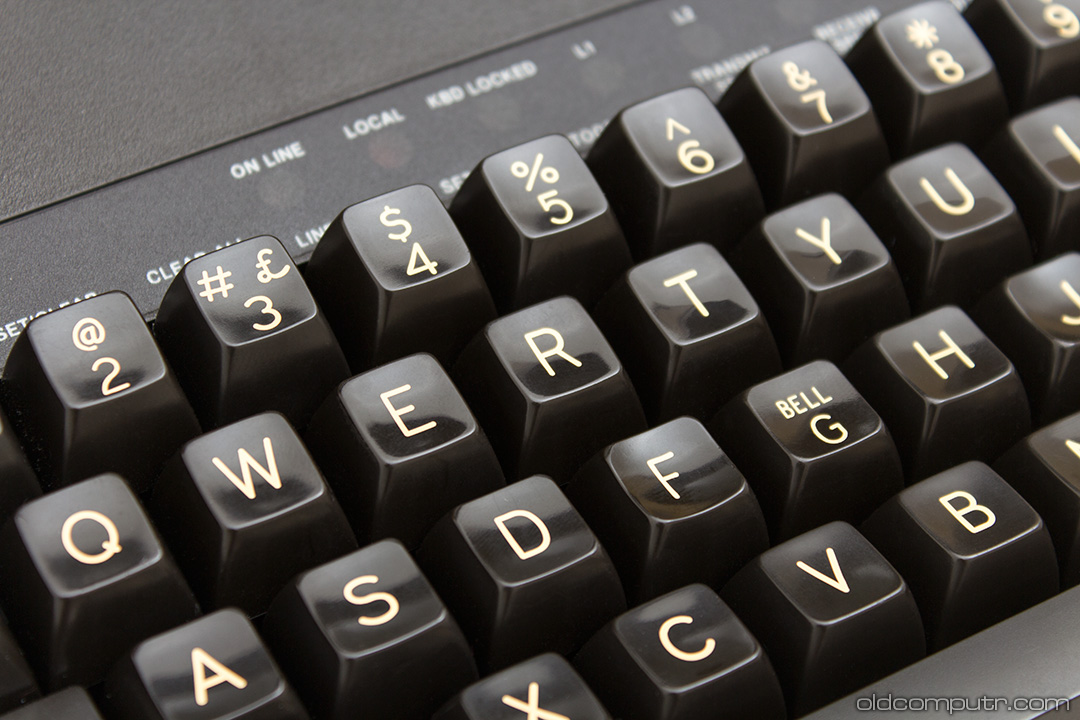
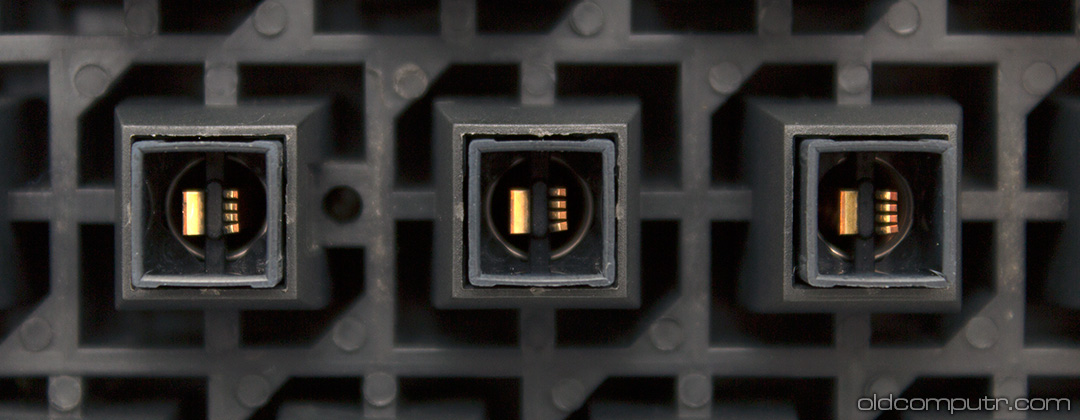
The next picture shows the detail of the key.
There was no need for a “keycap puller”, the keys came off easily – so easily that I was lucky that no key was lost in all these years. This image is taken from the technical manual I found on the net.
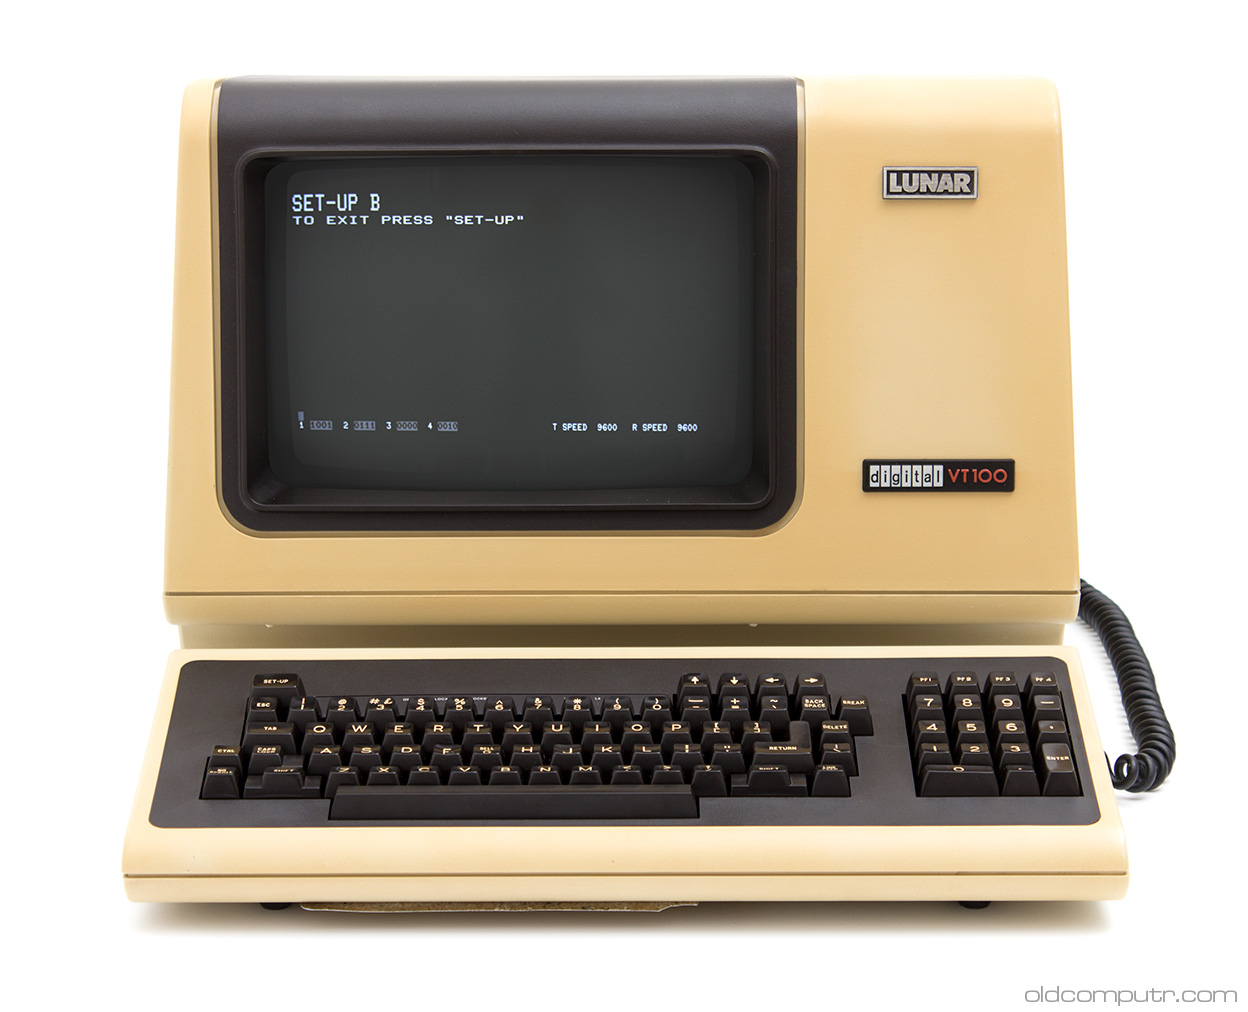
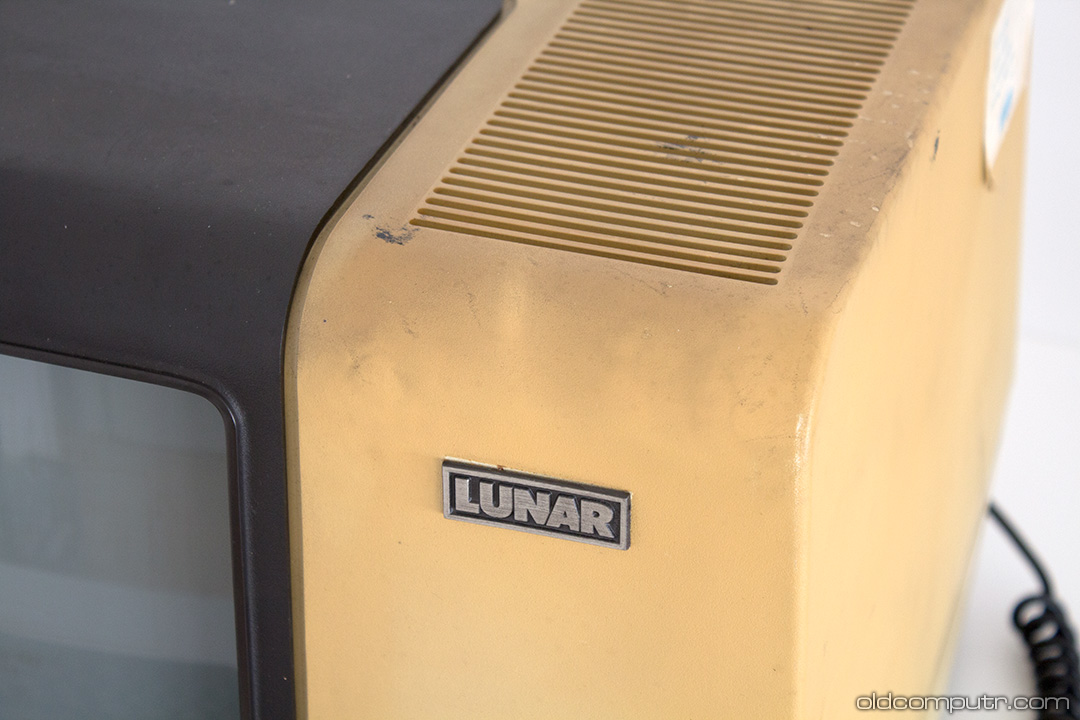
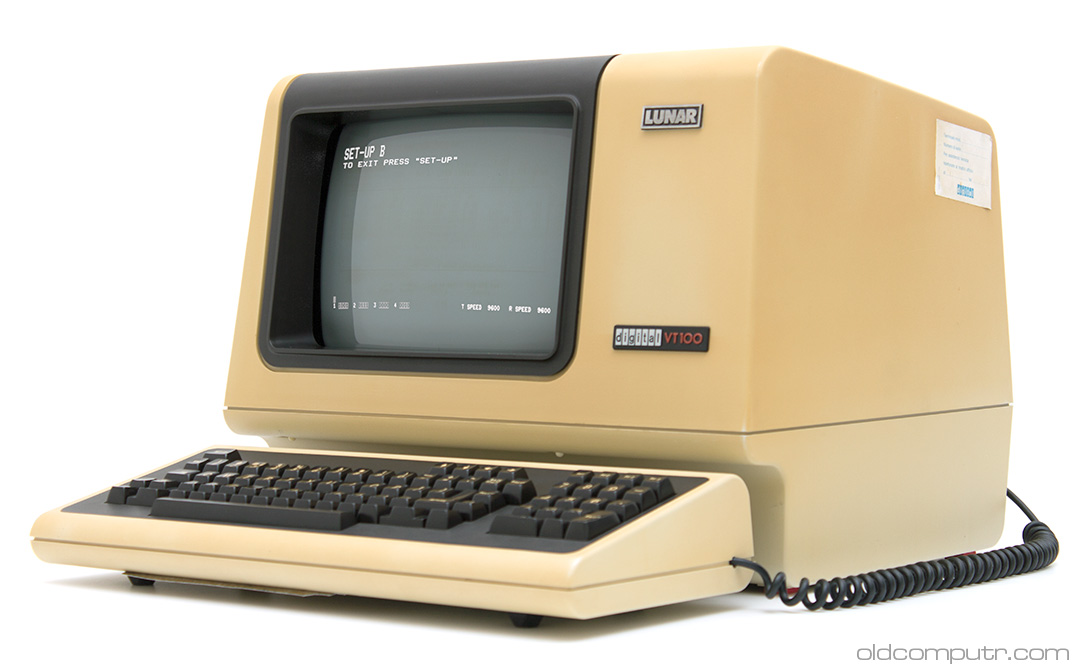
After the keyboard I cleaned the main unit. The “Lunar” badge was probably added by the seller or the distributor, but I couldn’t find any information about it. Under the badge you can see the original colour of the case. If you look closely, you can see that the CRT monitor has a ghost image caused by showing the same static text many hours a day for years. Here’s the teardown picture.
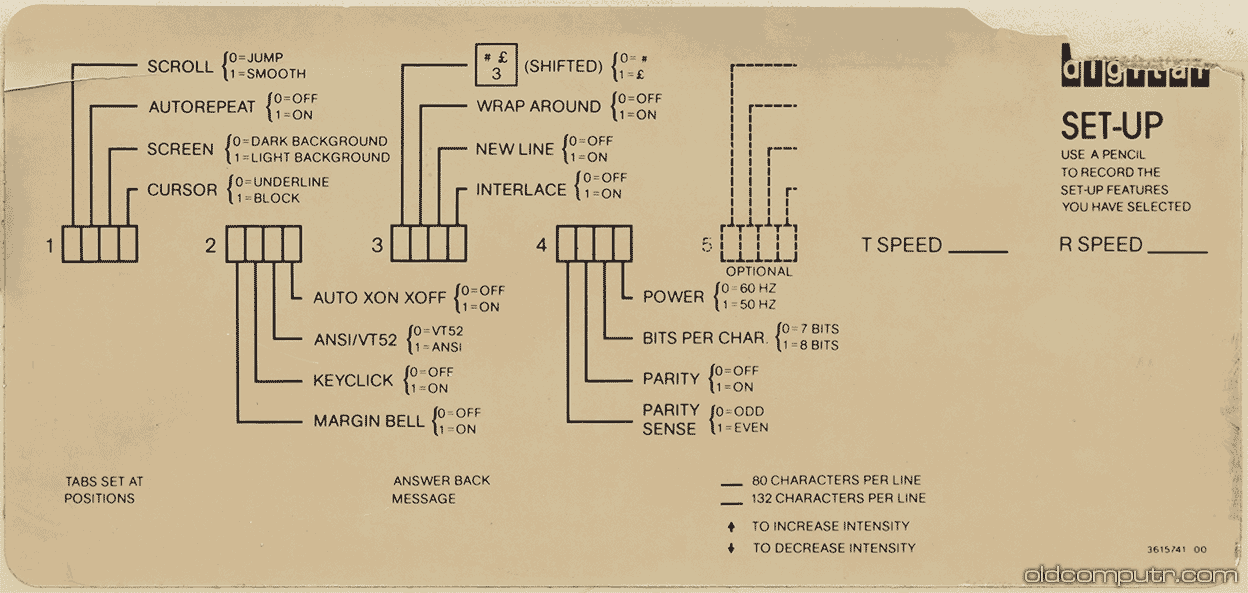
There’s a sticker under the keyboard, used to keep track of the terminal settings. In the setup screen that you can see in the first picture there are 4 series of 4 bits: each one sets an option, explained in the manual and summed up on the sticker.
The unit was designed with easy reparability in mind. The top and bottom case are kept together with just four clips; a few other clips keep the main unit attached to the bottom case.
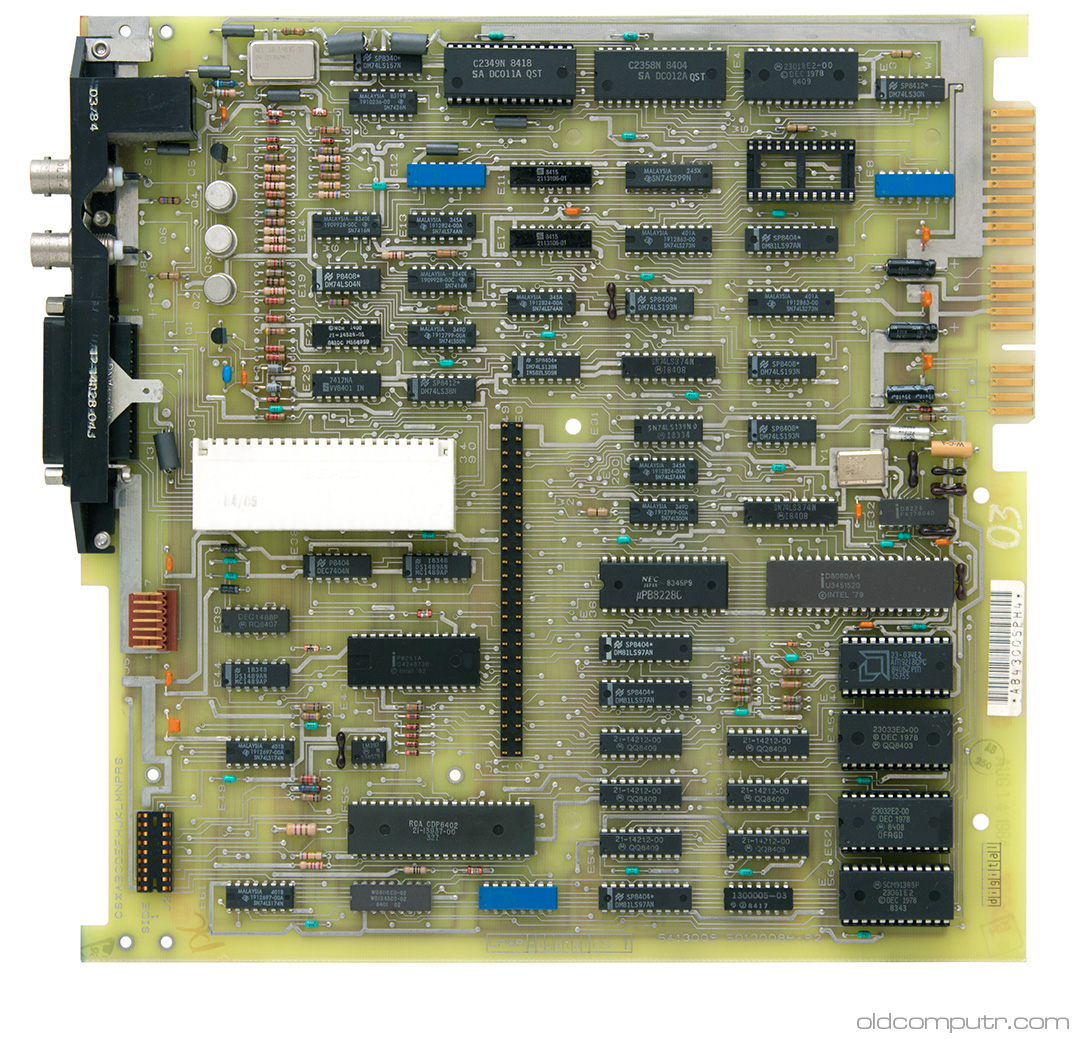
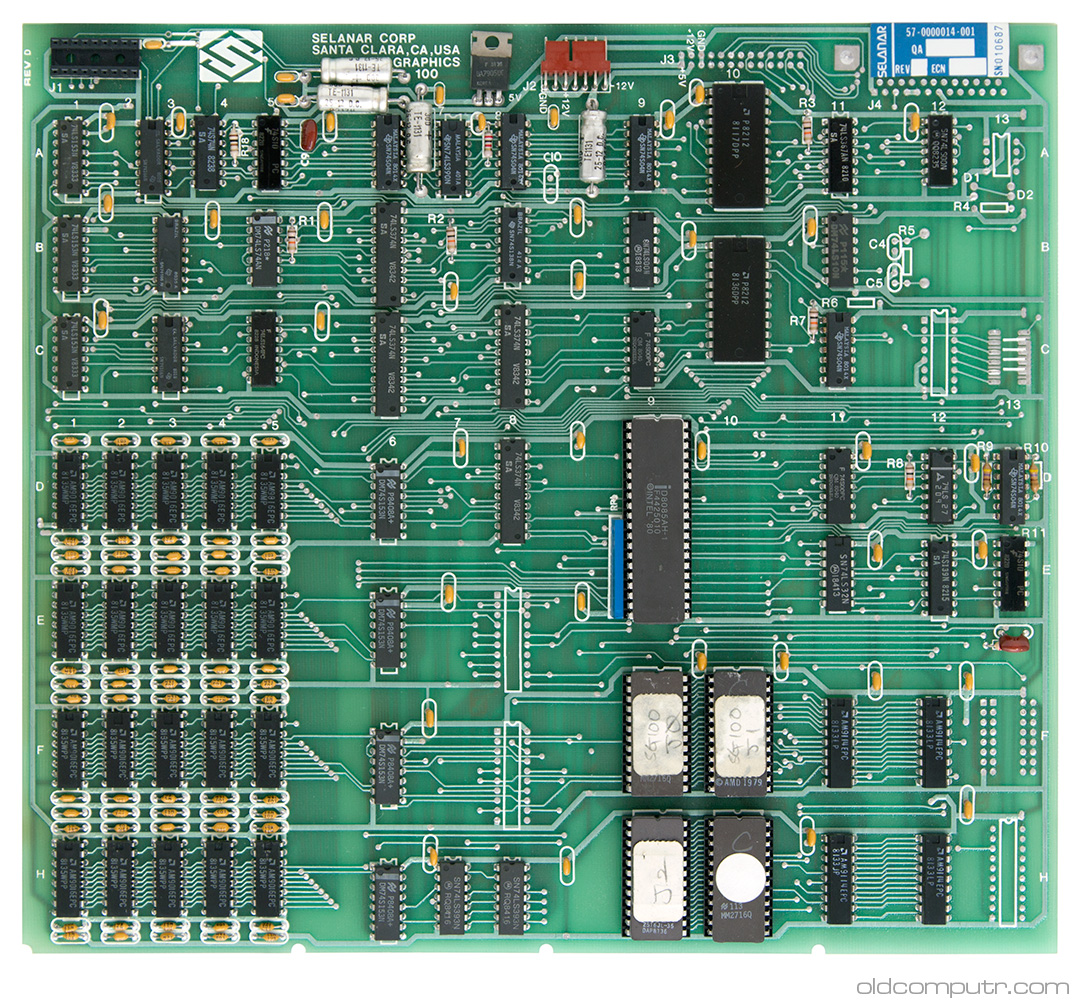
The motherboard and the graphic board can be pulled out by unscrewing a panel on the back.
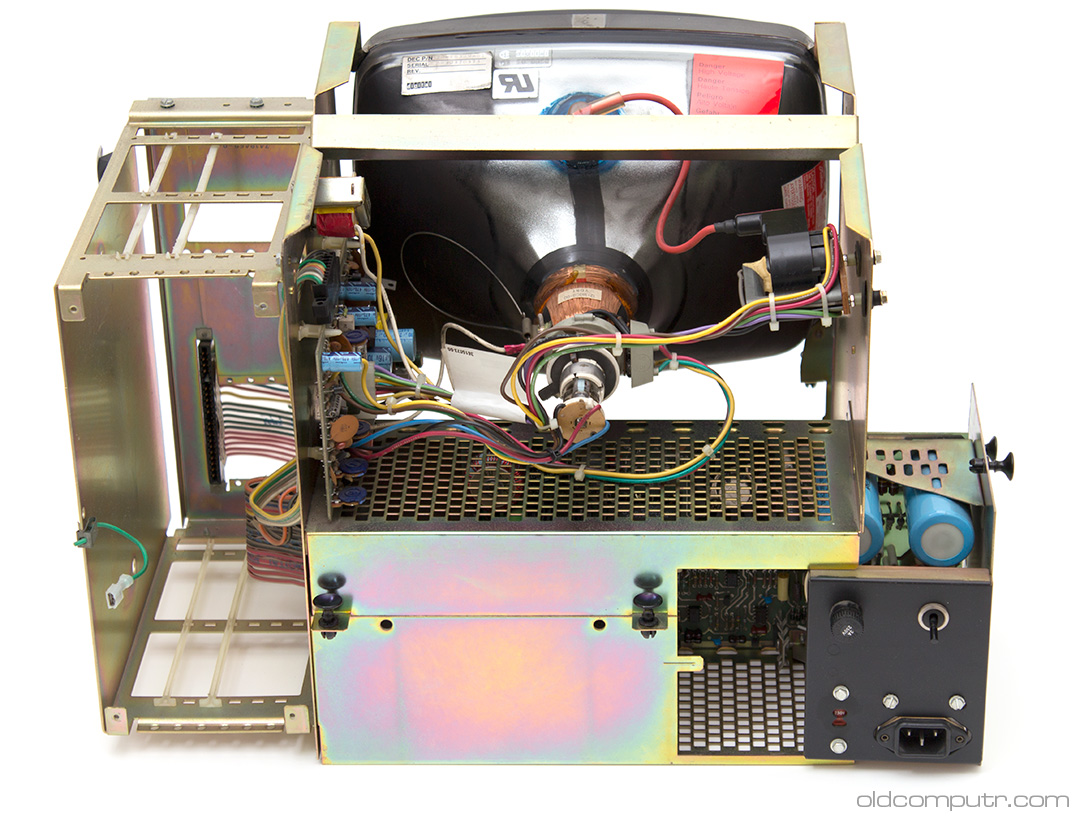
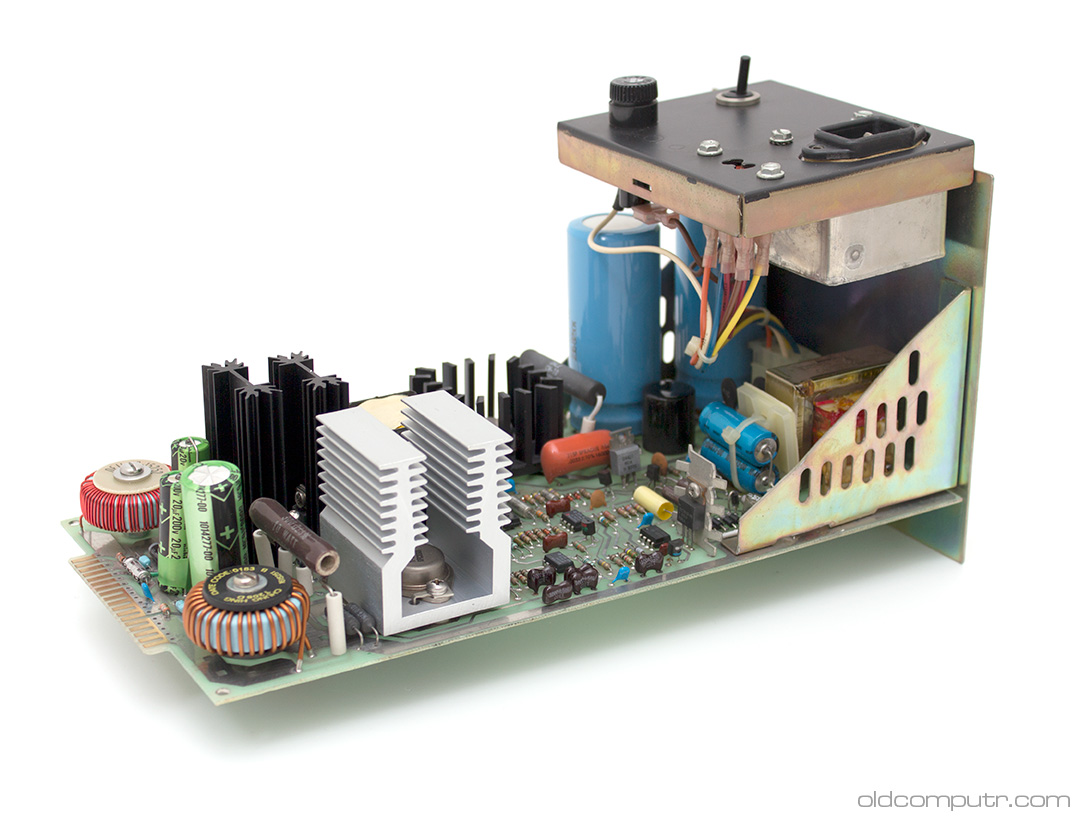
The power supply unit can be pulled from the main by lifting – you’ve already guessed – some clips.
The power supply unit:
The main processor is an Intel 8080.
The Selanar Graphics 100 is an additional third party board that lets the terminal show 132 columns on screen and use advanced character formatting. It’s based on an Intel 8085 processor.
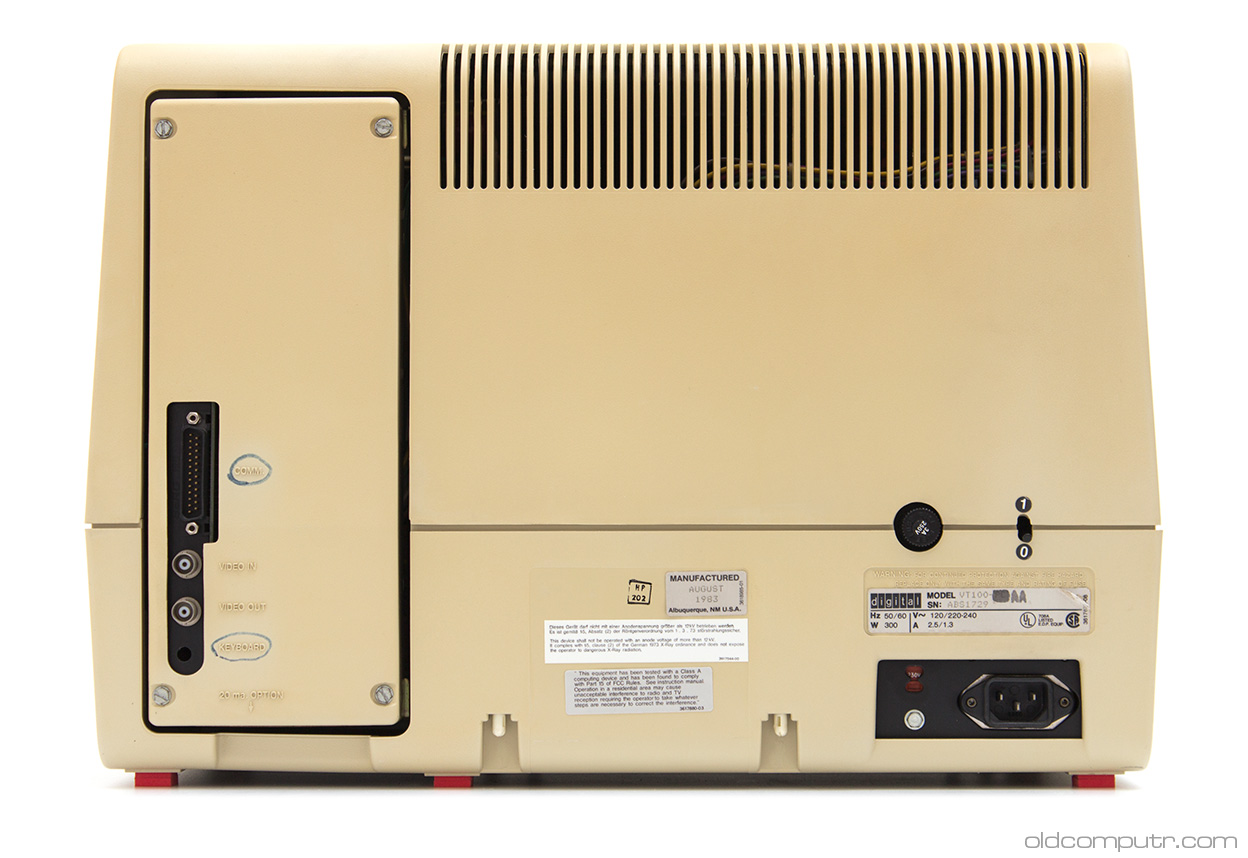
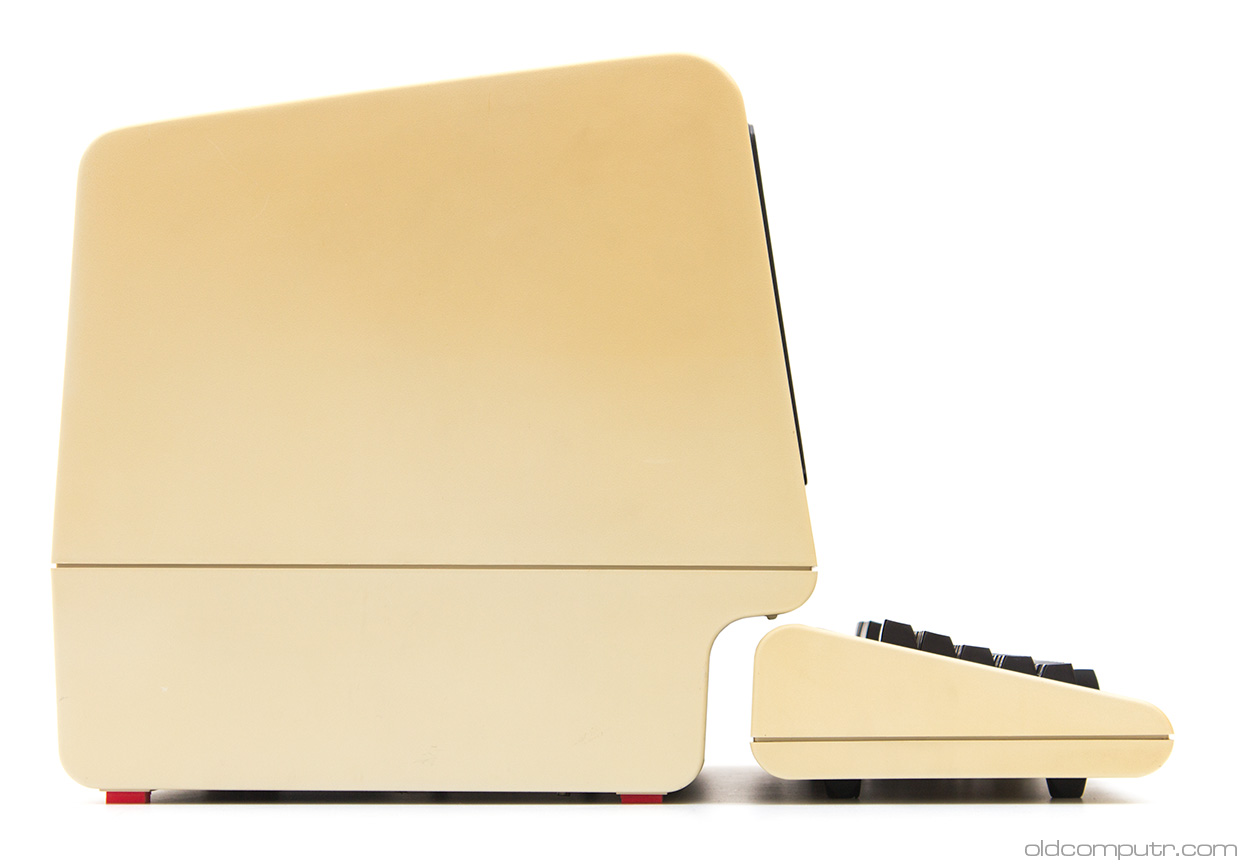
The side view of the terminal:
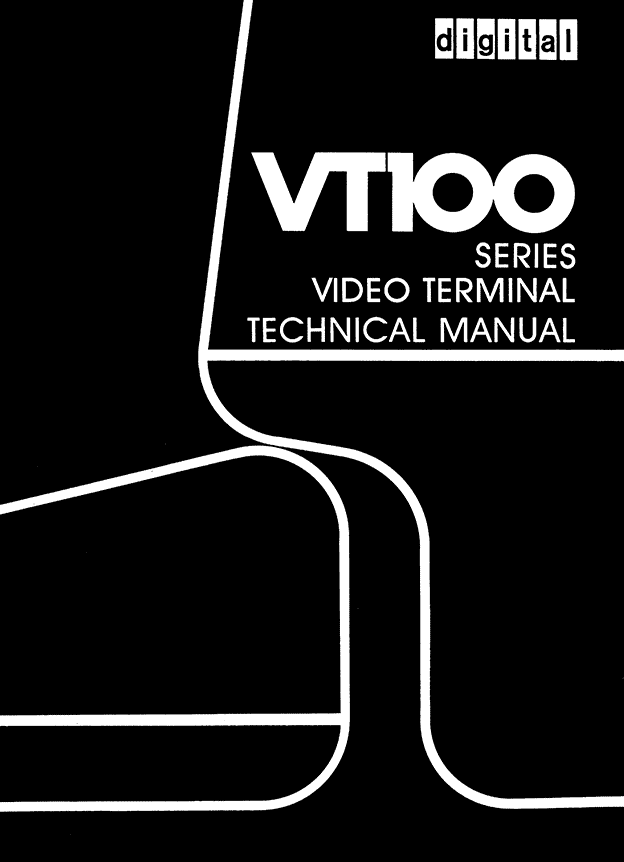
You can immediately recognize the VT100 on the manual cover:
The most useful site I found about the VT100 is VT100.net; you can find the technical manual on the Internet Archive. The only information about the Selanar Graphics 100 came from a Google Book scan of Computerword magazine from August 1980. It cost $1195, and on the same page there’s an ad for the VT100 at $1550. That makes a total of $2745, that according to usinflationcalculator.com corresponds to $7926 in 2015. For a terminal!
Discover more from Oldcomputr.com
Subscribe to get the latest posts sent to your email.


SO envious. I used one of these for some years when I worked in Ford I.T. Would love to find one again for nostalgic reasons and also because I am building a little museum (primarily for aged care) and it would be a fine addition. Hardly any to be found though… so just have to dream on. This one looks a beauty!
Hi Chris, I have a Digital VT100 for sale if you are interest in working order.
And of course, the later VT-102 added 132 column support (part of the Advanced Video Option [AVO]) without needing an add-on card. So that company’s business was likely limited.
Unfortunately, UV from sunlight and/or older fluorescent lighting would cause the yellowing. I believe that it can be removed – the Living Computer Museum has at least one non-yellowed VT-100 family – see https://en.wikipedia.org/wiki/VT100#/media/File:VT_131.jpg for a picture.
There are many pages on the Web about whitening yellowed plastic. I like this one: https://www.howtogeek.com/196687/ask-htg-why-do-old-computers-and-game-consoles-turn-yellow/ and would use its advice myself if I had a VT-xxx that needed to be de-yellowed.
When I started at Digital in 1983, getting one of those for use was still considered a big deal – they were much better than the VT-52s that most employees had.
Even the older VT100 has 132 column support. Without AVO it displays 14 lines only; with AVO the full 24 lines. The VT102 had AVO built in and no expansion slot.
The plastic resin used to mold the terminal enclosure was General Electric’s Noryl resin, a product that Jack Welch, CEO of G.E., marketed when he was heading up the Plastics Div. based in Pittsfield Ma.
Due to the UV instability of the GE Noryl resin, Digital switched to a Bayer resin which had much better UV stability.
Pingback: Repórter Retro Nº 014 - Retrópolis
Literally “Hundreds of thousands of these units were used in Airports all over the world…by Airlines and Rental Car Companies….usually at the Check-in/Check-out desks, Boarding Pass areas, and Rental car stations as well. These were kind of an “Intelligent Dummy Terminal” if that makes any sense. That is where I remember seeing all of these when I was a kid and a teenager growing up in the 1980s. As a bonus, My cousin was a high-up executive at DIGITAL Computer Corp., The company that made these. – Tony K. , Melbourne, Florida, USA.
I have a Digital VT100 in reasonable good nick which I would like to sell. Any idea what it might be worth? It is in working order.